Here are the steps you need to follow:
1. Determine the Installation Location
Main Distribution Board: SPDs are usually installed at the main distribution board where the power enters the building.
Close to Sensitive Equipment: Alternatively, install the SPD near sensitive equipment that needs protection.
2. Turn Off Power
Safety First: Ensure the power supply to the area where the SPD will be installed is turned off to prevent electrical shock.
3. Mount the SPD
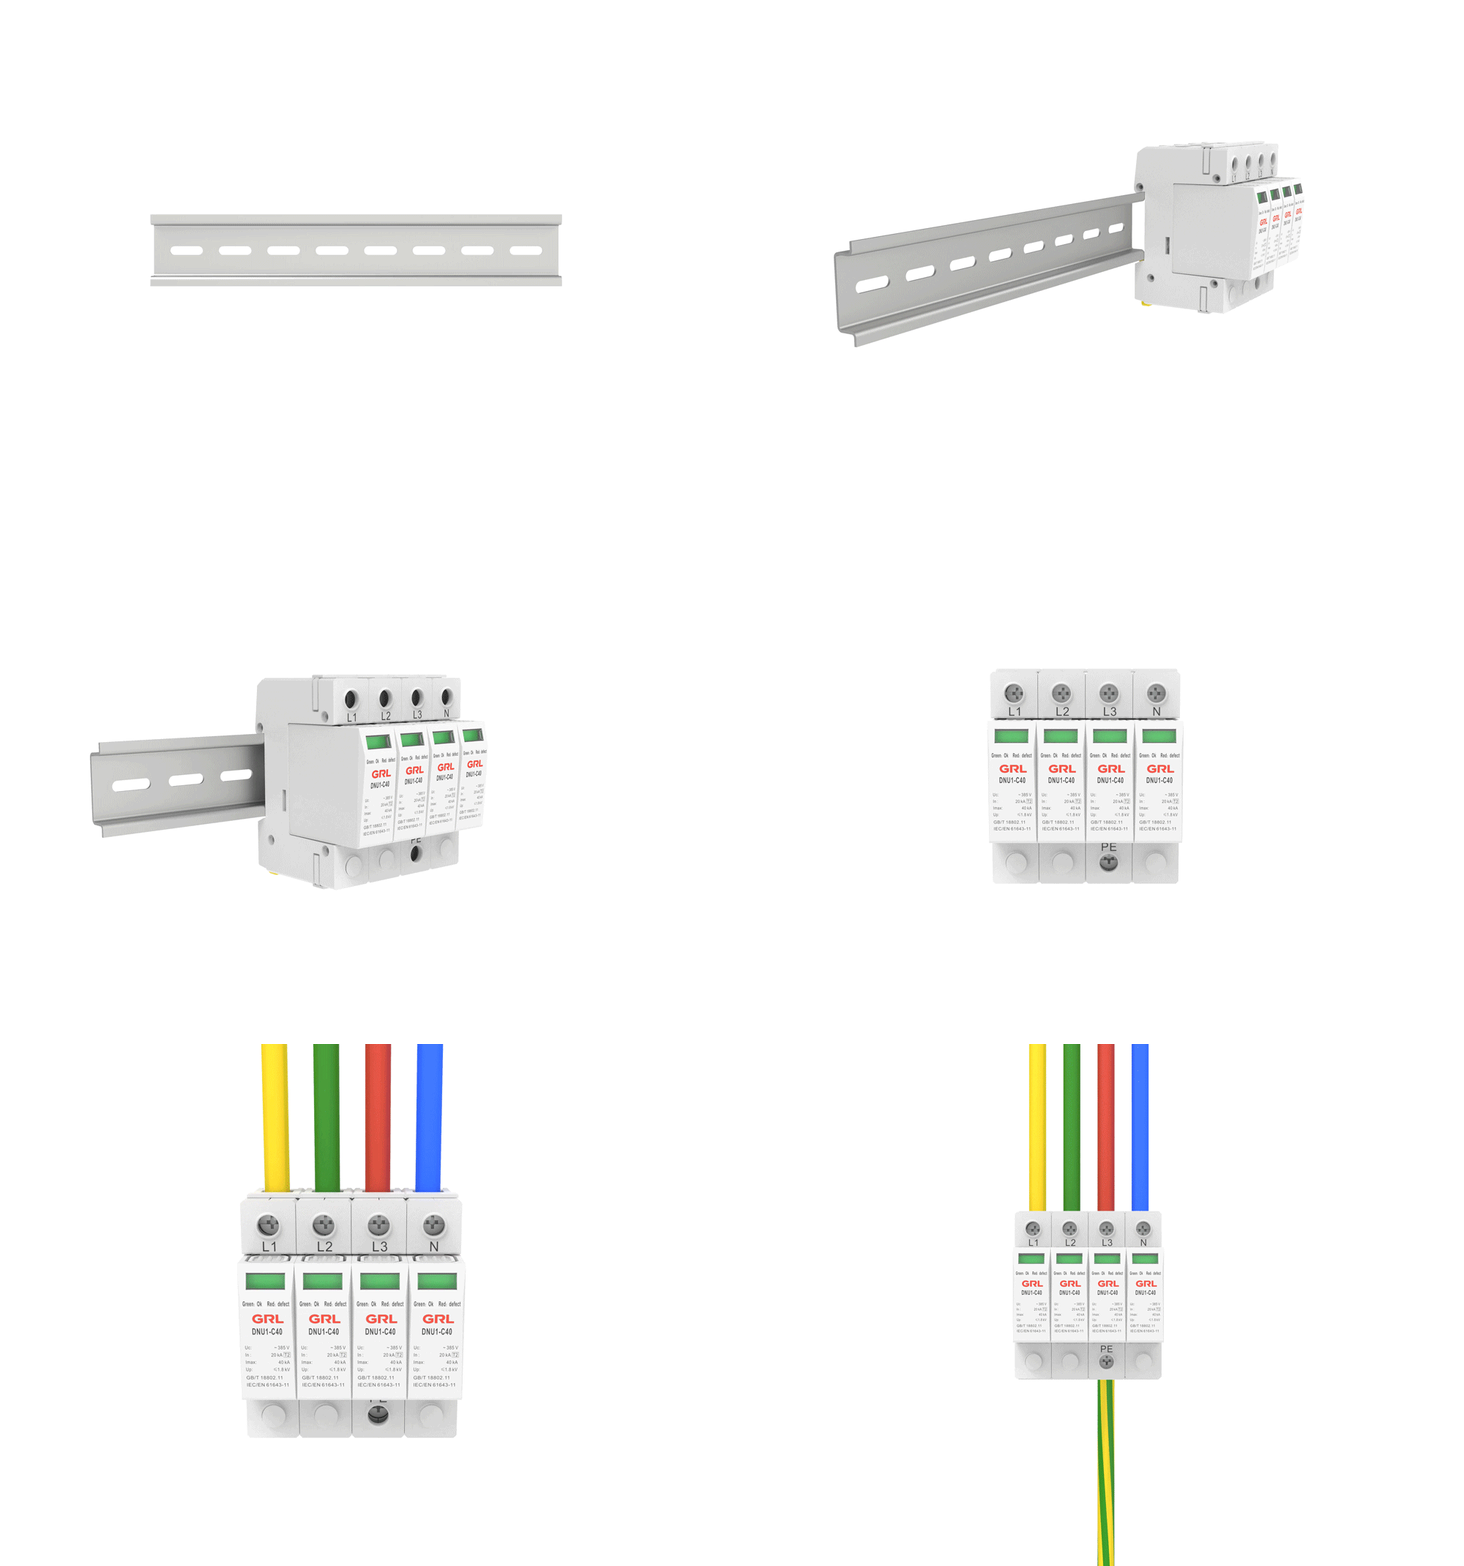
DIN Rail or Panel Mount: Depending on the design of the SPD, secure it to a DIN rail or directly to the panel using screws.
4. Prepare the Cables
Strip the Insulation: Use a wire stripper to remove about 10-15mm of insulation from the ends of the wires that will be connected to the SPD.
5. Connect the Wires
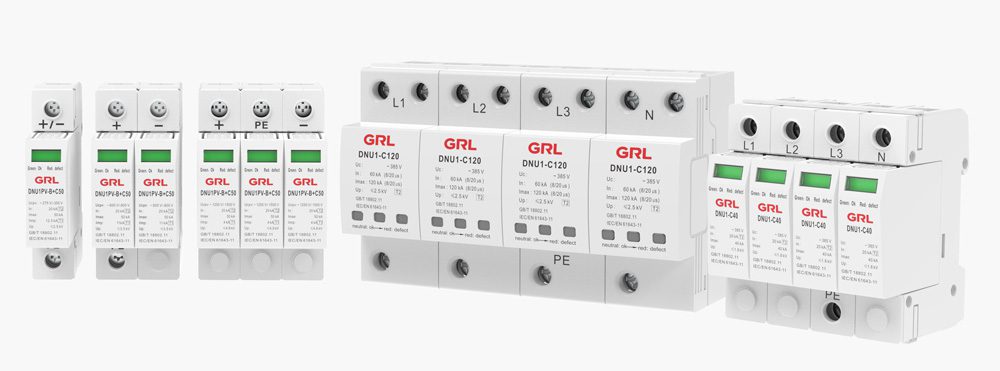
Refer to the SPD’s wiring diagram. Generally, SPDs have terminals for live (L), neutral (N), and ground (PE). Follow these steps for a typical connection:
Live Wire (L): Connect the live (hot) wire to the L terminal of the SPD.
Neutral Wire (N): Connect the neutral wire to the N terminal of the SPD.
Ground Wire (PE): Connect the ground wire to the PE terminal of the SPD.
Ensure all connections are tight and secure to prevent any loose connections that could lead to malfunction or hazards.
6. Double-Check Connections
Before turning the power back on, double-check all connections to ensure they are correct and secure. Properly insulate any exposed wire ends with electrical tape if necessary.
7. Restore Power and Test
Restore Power: Turn the power back on at the main breaker or distribution panel.
Test the SPD: Use a multimeter to check the voltage at the SPD terminals to ensure it is receiving power and functioning correctly. The SPD’s indicator lights (if present) should show normal operation.
8. Regular Maintenance
Regularly inspect the SPD for any signs of wear or damage. Ensure that it remains securely connected and replace it if any faults are detected.


